
Sau khi bạn update windows trực tiếp từ đĩa hoặc từ chính chương trình update của Windows. Windows sẽ tạo ra một thư mục Windows.old để bạn có thể phục hồi lại phiên bản cũ . Hôm nay iphanmem sẽ hướng dẫn bạn xóa thư mục Windows.old trên mọi phiên bản Windows một cách đúng nhất và đơn giản nhất.

1. Xóa thư mục Windows.old trên Windows 7/8
- Mở My computer (hoặc bấm phím tổ hợp Windows + E), nhấp phải chuột vào ổ đĩa C chọn Properties -> Disk Cleanup
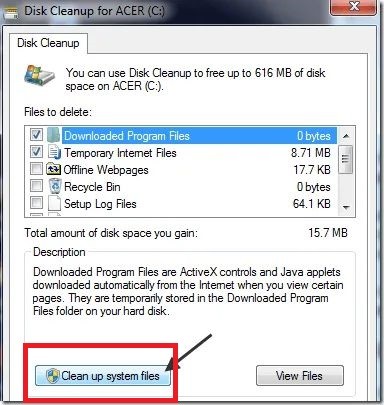
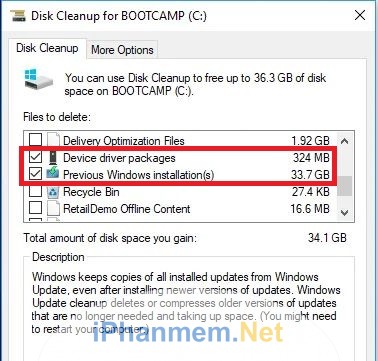
- Chọn Clean up system files. Tìm và check vào một trong 2 mục sau Older versions of Windows or Previous Windows installations và click OK.
Như vậy là bạn đã xóa thành công thư mục Windows.old rồi.
2. Xóa thư mục Windows.old trên Windows 10
- Vào Box tìm tiếm trên taskbar và đánh Settings và chọn nó từ kết quả tìm kiếm
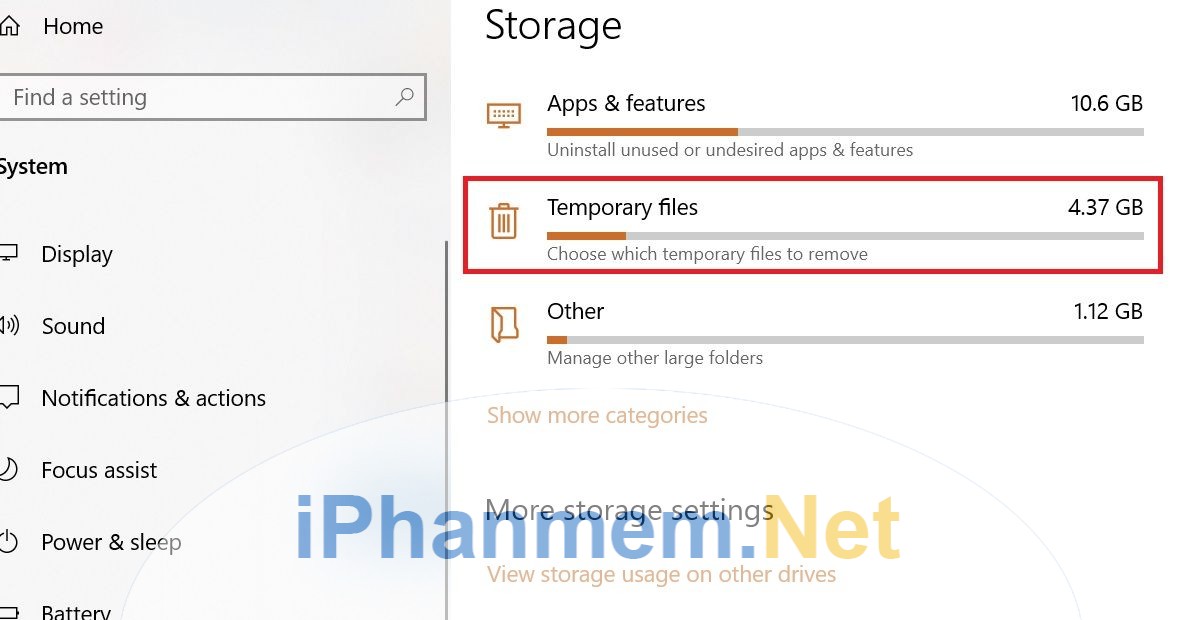
- Chọn System -> Storage -> This PC và kéo xuống chọn Temporary files.
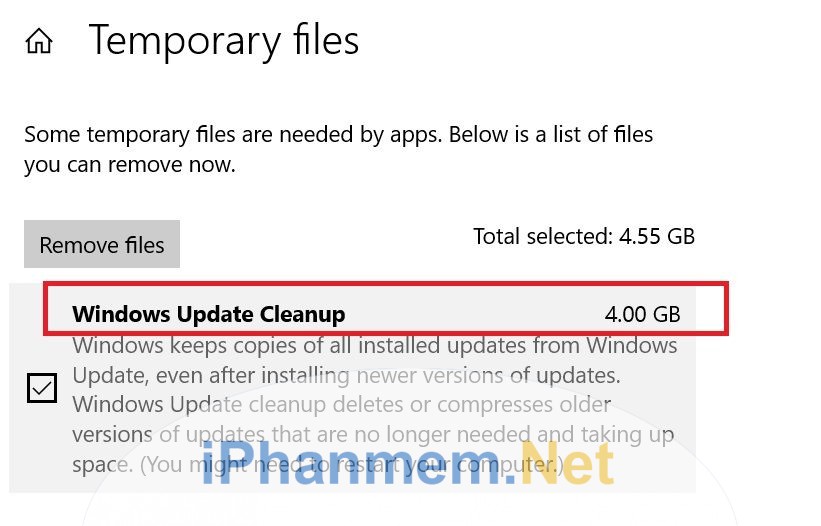
- Trong box chọn Previous version of Windows và bấm Remove files.
Vậy là bạn đã hoàn thành xóa file Windows.old trên Windows 10.
3. Xóa thư mục Windows.old trên Windows Server 2012/2016/2019
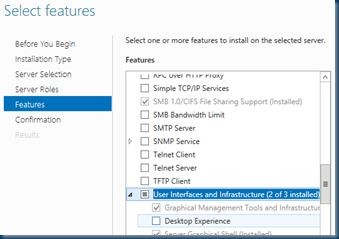
Để xóa Windows.old từ Windows Server bạn cần cài đặt Desktop Experience từ Server Manager và add New feature, sau đó khởi động lại máy để hoàn thành việc cài đặt Desktop Experience.
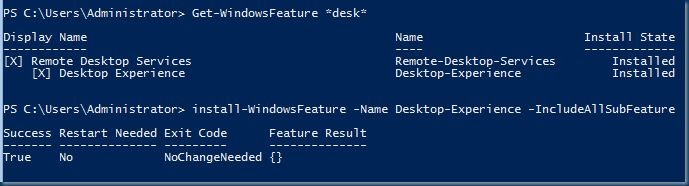
Ghi chú: Bạn có thể cài Desktop Experience bằng câu lệnh trên Windows PowerShell
Get-WindowsFeature *desk*
install-WindowsFeature -Name Desktop-Experience –IncludeAllSubFeature
Bây giờ bạn đã có thể thấy Disk Cleanup trong Properties của ổ đĩa chứa hệ điều hành (thường là ổ đĩa C).
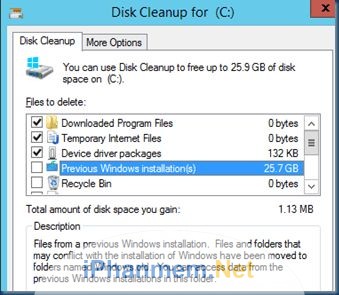
Vậy là bạn đã có thể xóa thư mục Windows.old trên Windows Server. Nhớ like và share nếu bạn thấy hữu ích nhé. Chúc các bạn thành công.